Figure Skating Practice Video Review: Frame the Entry and Exit
Film a skating sequence from an approved rink position, retain the entry and exit, and compare matched practice clips with a coach. Includes a review card.
Read the filming planThe stick shaft can stay visible while the blade and puck disappear at the bottom of a rink-side crop. Glass, reflections and boards also change what the clip can support. A useful wrist-shot recording keeps the visible sequence around the release instead of chasing only the puck.
Use a coach-approved recording position clear of shooting and skating lanes. Keep the full player, stick blade, starting puck area and finish visible. Compare the same shot setup, and label anything hidden by the boards, glass, stick or body as unknown.
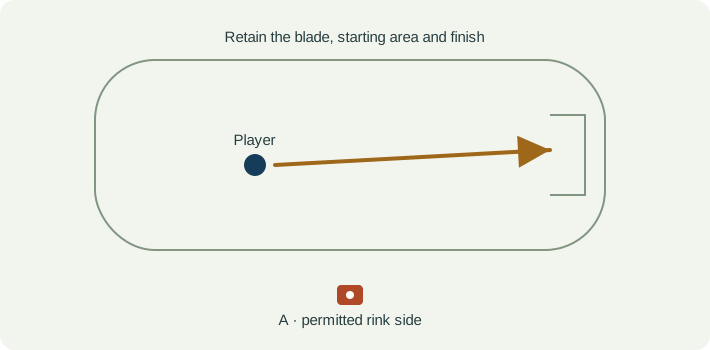
Ask the coach and rink where recording may take place. Keep the recorder and support outside the active shooting and skating area, without blocking doors or other spectators. Do not move onto the ice or into the line of a shot to improve the angle.
Include the skates, blade and starting puck area as well as the player’s upper body. Leave space for the follow-through and the next movement. Check whether a board, glass seam or reflection hides the event before relying on the recording.
Label the shot type, starting position, feed and target. A stationary wrist shot and a shot after skating are different tasks. A separate wider view can show approach and target, but it is not an additional synchronized view unless both cameras actually recorded that attempt.
| Event | What to keep visible | Review question |
|---|---|---|
| Preparation | The player, stick and visible starting puck position. | Do the two attempts begin from a comparable setup? |
| Release interval | The blade and first clear puck separation when visible. | Can I actually see the interval, or is it behind a board, stick or reflection? |
| Follow-through | The full stick finish and player’s movement. | Did the camera retain the sequence rather than just the upper body? |
| Recovery and context | The next skating movement and intended target area where visible. | Does this clip contain the context for the coach’s question? |
| Observation | Interpretation to check | Next useful action |
|---|---|---|
| The shaft is visible but the blade is hidden. | The view cannot establish the concealed blade-puck interaction. | Limit the observation and ask whether another permitted position is useful. |
| A reflection looks like an extra puck. | Glass or background detail may confuse visual review and detectors. | Return to the source sequence and avoid treating an overlay as proof of identity. |
| A moving shot looks different from a stationary shot. | The skating approach changes the task. | Compare similar attempts before discussing the visible stroke sequence. |
| A ball trail fails to follow the puck. | Puck tracking is not validated by this filming guide. | Use manual review; do not assume a ball detector supports pucks. |
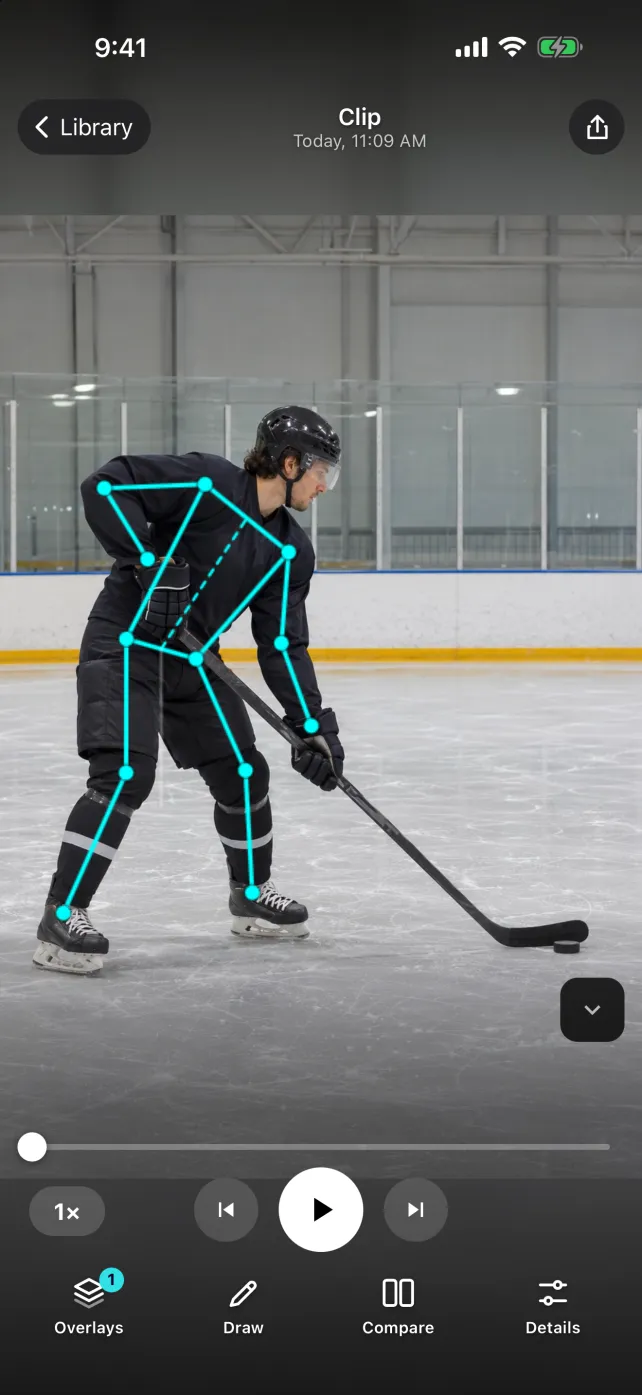
SportsDraw 1.1.0 can support manual hockey clip review with slow playback, frame stepping, drawings, notes and comparison. Use an original frame to point to a visible stick or body position. No validated puck tracking, stick-flex measurement, shot-speed reading or automatic hockey coaching score is claimed here.
See what SportsDraw can do · See SportsDraw on the App Store
An uncalibrated rink recording cannot establish shot speed, puck spin or stick loading. Pose overlays can be affected by equipment, overlap and reflections. This is a filming workflow for familiar coached practice, not a shooting-technique prescription or a change to rink access rules.
Slower playback does not add frames that the camera never recorded. If contact is hidden or falls between frames, preserve that uncertainty in your note. See frame timing explained.
https://sportsdraw.app/posts/hockey-wrist-shot-video-analysis
This worksheet stays in this page. Copy or print it to keep it; its contents are not sent to us.
Stationary wrist shot, same rink-side position and target. Both clips retain the full stick finish, but the board hides the starting puck area in take A. Observation: the preparation cannot be compared completely. Ask whether a different permitted view would keep that area visible next session.
This article is published by the app developer as a filming-and-review workflow. Camera diagrams and example notes are illustrative. They are not athlete test results or an individual coaching assessment. Coaching context was checked against the primary resources below on November 8, 2026.
The governing body’s primary demonstration provides wrist-shot sequence context. It is a coaching reference, not a validation of the camera plan or SportsDraw measurements.
Film a skating sequence from an approved rink position, retain the entry and exit, and compare matched practice clips with a coach. Includes a review card.
Read the filming planFilm a familiar overhand lacrosse shot with the approach, full stick and release area visible. Review matched attempts and save a clear coaching question.
Read the filming planAll sports video-review guides · Baseball and other practice articles